Happy Feature Friday.
Ever wonder what elevates a good video to a great one? Dive in to discover the magic of voice-overs and their transformative power in video content. Learn the art of crafting compelling voice-overs, explore Visla’s seamless integration for custom voice-overs, and unlock the potential of your video creation process.
Why Voice-Overs Make Your Video Better
Voice-overs are more than just a narrative tool; they’re the heartbeat of your video content, giving it a distinct personality and tone. They play a critical role in engaging the audience, often making complex concepts more digestible and relatable. A compelling voice-over adds depth to your visuals, ensuring that your message resonates with the audience on an emotional level.
It’s the difference between just watching a video and experiencing it. For businesses, this means creating content that not only informs but also connects and builds brand identity.
What Makes a Good Voice-over
A good voice-over hinges on clarity, emotion, and relevance. Clarity ensures your message is understandable, avoiding any ambiguity. Emotion breathes life into your content, creating a connection with your audience. And relevance? It’s about ensuring the voice-over aligns perfectly with your brand’s message and audience’s expectations. The right tone, pace, and energy are critical in making the voiceover an effective tool for your video content.
How Uploading Your Own Voice-over Works With Visla
Visla’s new feature simplifies the process of integrating a custom voiceover into your AI-generated videos. This section breaks down each step.
1. Create Your Video in Visla
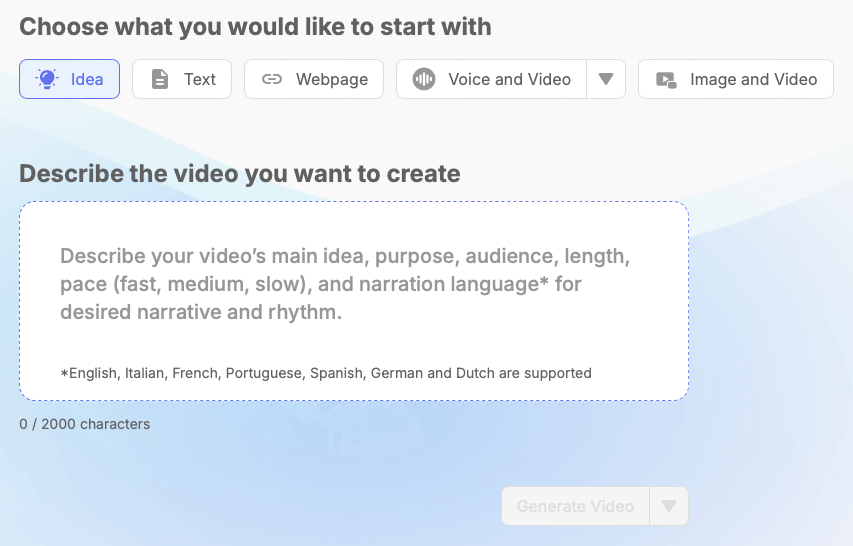
Begin by creating your video in Visla. Remember, you can start from any option except for the “Voice and Video” one . For instance, if you’re creating a video for a blog post about AI ethics, for example, simply select the blog option, paste the URL, and let Visla generate the video.

2. Using Text Input for Existing Scripts
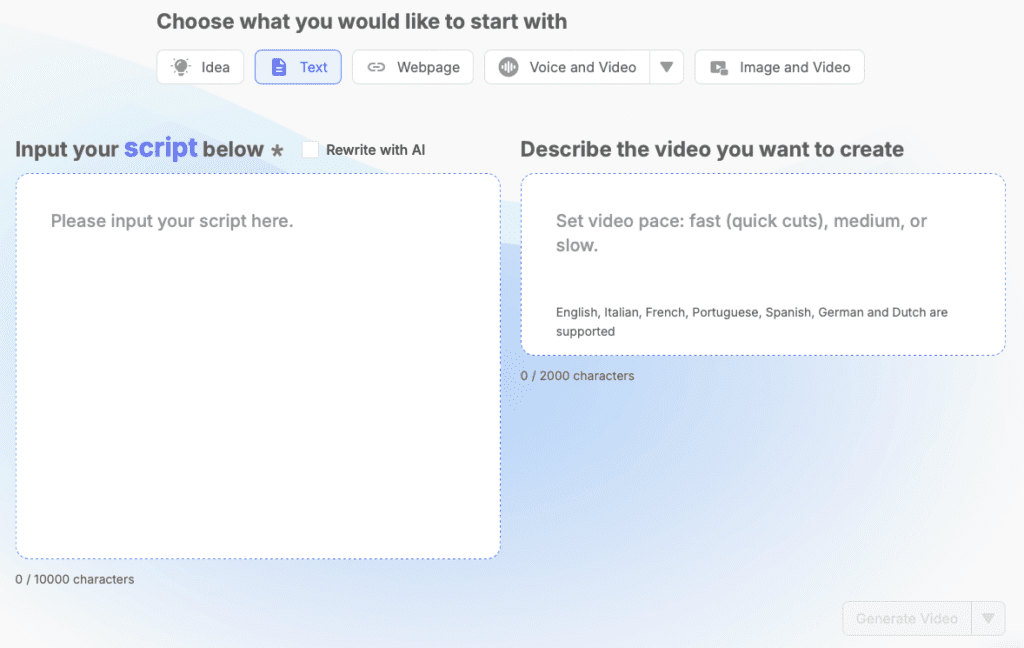
If you have a script for your voiceover, utilize the Text input feature. This allows Visla to generate a video that’s ready for your custom voiceover.

3. Adding Your Voice-Over
Once your video is ready, head to the editing space and open the audio menu. Here, you’ll find the voice-over section. Click ‘upload’ and choose your audio file (MP3, WAV, or M4A) from your computer.
4. Ensure Proper Alignment
After uploading, play each scene to double-check that the voiceover aligns correctly with the visuals. This step is crucial for maintaining the flow and impact of your video.
Experience the Efficiency
This feature dramatically reduces the time and effort required to match voice-overs with each scene. Whether it’s your recording or an AI-generated voiceover from another tool, you can upload the entire script in one go, ensuring a seamless integration with your video.
Last Word on Voice-Overs
Visla’s voiceover upload feature is a significant advancement for businesses aiming to create compelling videos. It opens up new possibilities for personalization and brand alignment, making your video content not just seen, but heard and felt. Give it a try and see the difference it makes in your video creation process.
